Home > System Admin Role > Processes > Mass Delete Students
Mass Delete Students
The Mass Delete Students menu item of Admin > Processes allows a User the ability to delete a selected group of students in one action. This process CANNOT be undone. Visibility Software recommends your IT team do a backup of the SQL database before taking this action. If your system is hosted by VS, please let us know and we can assist.
Begin the process by going to Admin > Processes > Mass Delete Students.
Finding Student(s):
The first screen presented is used to begin the process for selecting the students to be deleted. Please note, the additional fields on the right side of the page only appear after selecting a company in the Company pull-down list. The Company also controls the Organization Level Names and those Listed as well as the Job Titles displayed. In our example below, Visibility Software has 4 (of a possible 5) Organization Levels named, so only 4 display. This will vary by company depending on the Organizational Levels named under Admin > Codes > Companies.

Determine the criteria using the options on this page to find the necessary students. Typically, for a Mass Delete, most of the options on the left side of the screen (Last Name, First Name, Email, Student ID and Employee #, with the exception of the student Type) would narrow this to one student and would not be used for a Mass Delete. For that reason, of the fields on the left only the Student Type field is described below with the other options that appear on the right side. Once the criteria have been selected on this page, click the Find button to continue the process.
| Type |
This field searches for students by Student Type. It looks to the information in the Student File > Contact Info Page > Job Details Tab – Student Type field. The Student Type codes are set under Admin > Codes > Student Type. |
| Company |
This field searches for students by Company. It pulls the information from the Student File > Contact Info Page > Job Details Tab – Company Field. It also controls the up to five fields for organizational levels listed below, before the Job Code field.
|
| Org Levels 1-5 |
These fields search for students by Organizational Level Codes. Depending on the number of organizational levels a company is using and what they have been named, these fields will vary. They pull the information from the Student File > Contact Info Page > Job Details Tab – Organization Info - Primary record only. Selecting items from more than one level means that the student must have all items selected to appear in the list. |
| Job Title |
This field searches for students by Job Title. It pulls the information from the Student File > Contact Info Page > Job Details Tab – Job Info Table - Primary Job record only. Selecting job codes in conjunction with other criteria such as Org Levels will limit the students based on all those selections. |
| Hire Date Range |
This field searches for students by Hire Date. It pulls the information from the Student File > Contact Info Page > Job Details Tab – Hire Date Field. Selecting this field in conjunction with other criteria such as Org Levels and Job Codes, will limit the results based on all the selections. |
| Job Date Range |
This field searches for students by Job Date. It pulls the information from the Student File > Contact Info Page > Job Details Tab – Primary Job Start Date Field. Selecting this field in conjunction with other criteria such as Org Levels and Job Codes, will limit the results based on all the selections. |
| Active Status |
This pull down item will default to "Active" to include only actives students, but other options are for "Inactive" or "Both." Select the appropriate option for the students to include. |
| Add Skills Filters |
This option pulls information from the Student File > Student Skills page. Clicking the "Add new record" in this box, opens two drop-down lists. From the first any listed skill may be selected and from the second any skill level must be selected. After selecting the skill and skill level, click the Add button to save it as a filter for selecting students. Click the X at the end of the listed skill to remove it from the selection criteria. |
Clicking the Find button will bring up a list of the students that match the criteria. At this point the user may check the boxes in front of the individual names to select specific students or check the box in the table header (next to Name) to select All.
In this example the user is selecting only some of the students that were returned to be deleted from the system
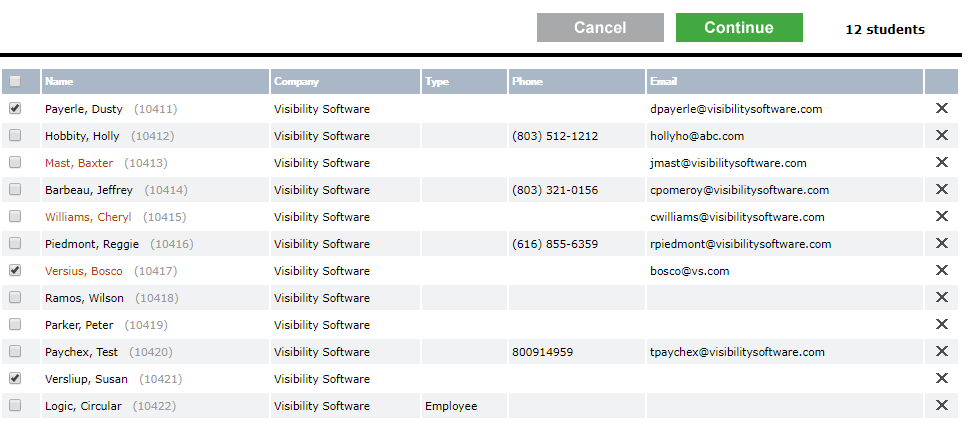
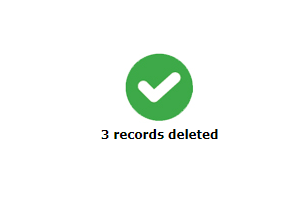
CAUTION: Clicking  at this point deletes the selected students with no additional warnings and returns the message below of how many student records were deleted. at this point deletes the selected students with no additional warnings and returns the message below of how many student records were deleted.
See also
|